Severius' voice has always resonated with sacred power, and he demonstrates a strength and surety that belies his age. Those who attend him can see and hear the power of unchecked divinity conveyed through his words and deeds. He has vowed to make it his life's work to unite the Menites of western Immoren, to spread the True Faith to all of humanity, and to usher in a new age by hammering the cathedrals of Morrow to rubble and erecting new temples to the Lawgiver.
A while back, over on the Twitters, I mentioned that I wanted to work more in Black and White, but wasn't sure how best to improve my meager technique. My friends sent in their tips and I spent an hour adjusting the settings on my camera to reduce the sharpness and contrast to give me a softer, less crisp image. Now, instead of just a black and white snapshot, I get something like what you see above.
Heirarch Severius is a ~28mm wargaming miniature produced by Privateer Press for their Warmachine tabletop game.
Yes, he is standing on top of the acolytes.
Be good,
-Dave
Since I know how low to go
I wont let it show
Amon Ad-Raza (3)
5:34 AM by El Dave , under menoth, miniatures, privateerpress, wargaming, warmachine

Let your faith be your armor, your fist be your sword.
-Prayer of the Order of the Fist
More playing around with the set from last time. I love using Amon Ad-Raza in games of Warmachine, even though he plays completely opposite the way I think he should.
Amon Ad-Raza and the Guardian Warjack are 30mm wargaming miniatures produced by Privateer Press for the Warmachine tabletop game.
Be good,
-Dave
If only we're nothing at all
|
Miniature Sets (3)
5:24 PM by El Dave , under gamesworkshop, menoth, miniatures, necron, privateerpress, spacemarines, terrain, wargaming
Since the weather is still in the low teens outside, I thought I'd take this opportunity to do a fun little tutorial. This one isn't so much about any photographic techniques, but instead I wanted to go into making sets for either your toys or any miniatures you have.
Today (well, last night actually) I built this bit of wall out of things sitting around the house. For this project you will need a few simple things.
Tools:
- Hot Glue Gun
- Acrylic Paints
- Paintbrushes
- Exacto Knife
Materials:
- Popsicle Sticks
- Thick, Sturdy Plastic
- Cardboard
- Little Metal Scrapbook Things*
- Flock
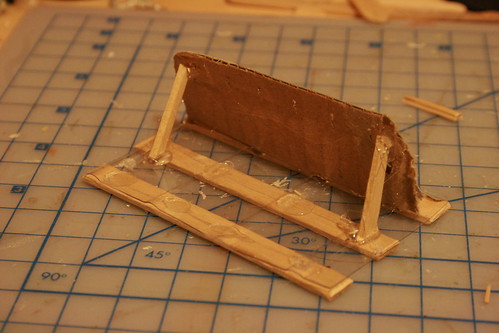
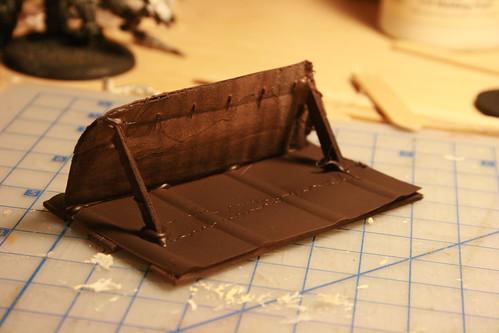
To start, measure out how large you want your wall to be, then cut the plastic to form the base (I used plastic from a toy package) that your wall will stand on. If the plastic is wobbly, use the popsicle sticks to strengthen it.
Next, cut the cardboard to make your wall. For this, I used the inside "handle" of a box as it was the right size and the corner was torn, giving it a cool worn look. Cut up another popsicle stick and use the pieces to prop the wall up. Using your exacto knife, make small, even incisions in the cardboard and slide your Little Metal Scrapbook Things inside to make cool rivets.
By now your hot glue gun is heated up and ready to go. Assemble the pieces and glue them together, taking care not to burn your fingers like I often do.
When everything is assembled, it looks something like this.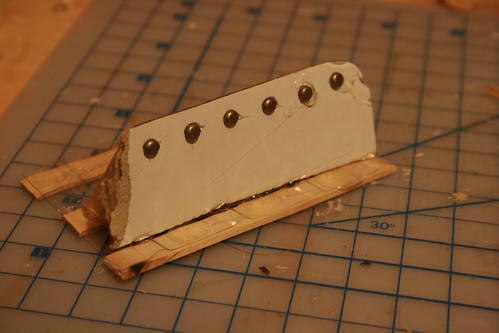
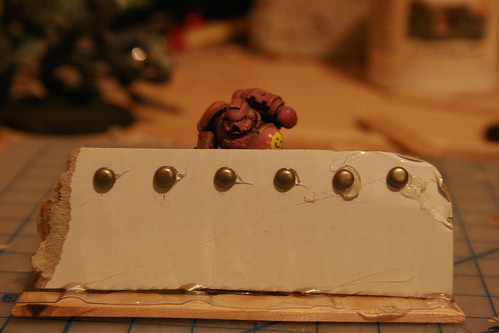
Before we paint it, I like to give it a coat of primer to help the paint stick. Any can of spraypaint that says Primer will do.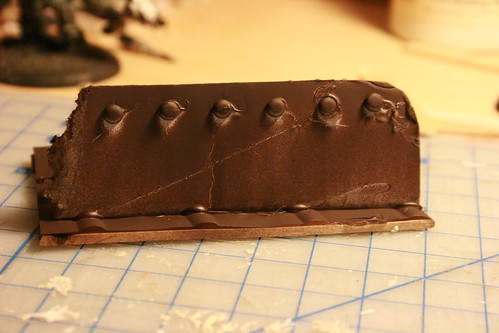
With paint (I didn't paint the back. Shhh!):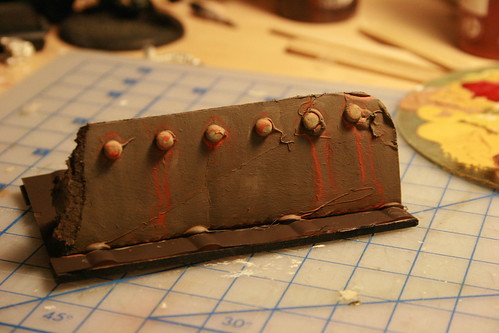
Once you get it painted, you'll need to add some flock to the base. What this means is adding some material to help create the illusion of solid ground. Most people use sand, but here I have a mixture of cinnamon, sugar, and red pepper flakes. Normally it isn't a good idea to use organic materials as flock, but I've added a nice thick coat of aerosol sealer to keep anything from rotting.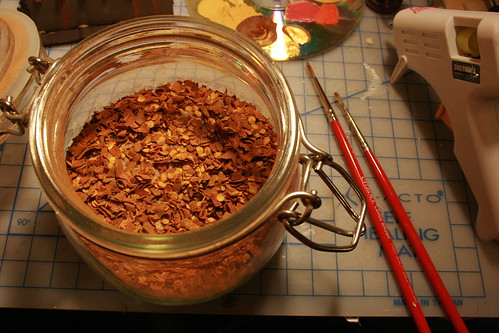
Safety note. Kids, cinnamon and red pepper powder can feel like a near lethal combination when inhaled. Even a little bit is going to really hurt. My nose is still runny!
So now you've assembled, painted, flocked, and sealed your wall. Now what?
PICTURES!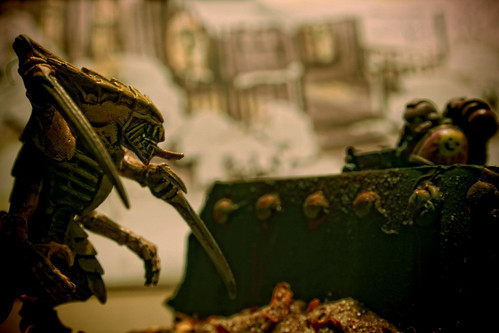
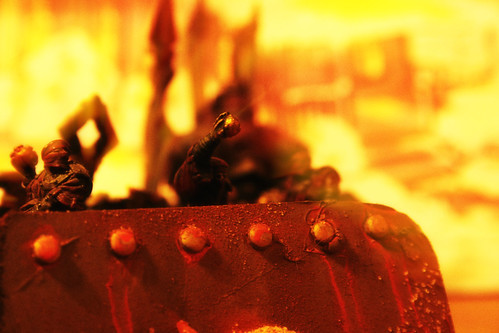
Be good,
-Dave
*I have been informed by my lovely assistant April that the Little Metal Scrapbook Things are called Brads and can be found in most craft/scrapbooking stores.
|
